Things you will need:
- Your bootable ISO of choice. I will be using a Windows 7 Ultimate x64 ISO on this tutorial.
- Latest version of Rufus (Download: Rufus app)
- A spare USB stick (The size of the USB required will vary depending on the size of the ISO you are using. I recommend an 8GB USB)
1. Download and install Rufus.
2. After the install, run or open the bootable USB creator tool and plug in your USB thumb drive.

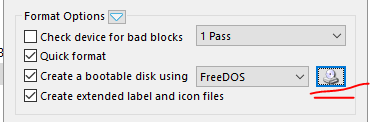
3. Click the optical drive button next to the Create a bootable disk using a checkbox, and you'll be prompted to search for the ISO image to use.
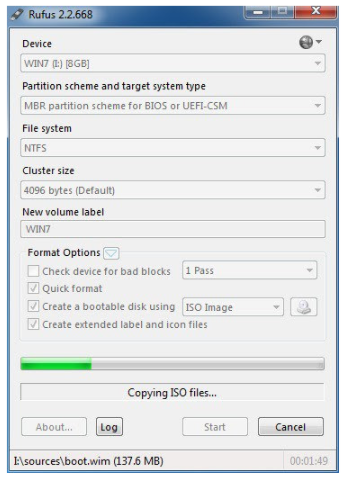
4. Rufus will now have filled out the fields for you. All you have to do now is hit Start. If your USB is the correct size then you will get a standard warning telling you that any data/partitions that was on the USB before starting the process will be permanently deleted.
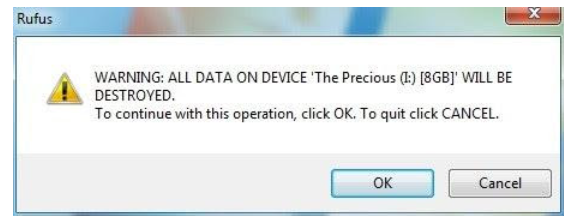
5. Click OK, to start. How long the process will take to complete will depend on the specs of your computer, the USB (read/write speeds) and the size of the ISO you are using. Once complete, restart your PC to change the BIOS settings.
NOTE: Before you proceed, please make sure that all your important data/files on your PC are properly backed up on an external drive or on another partitioned drive to avoid any data/files lost.
10.) Change your BIOS boot priority to (USB first) so that your computer will read the USB instead of your hard drive after restarting the machine. You can also check with your PC's manufacturer for guidance as these options vary from one manufacturer to another.
Please check this video for example on how to change boot priority
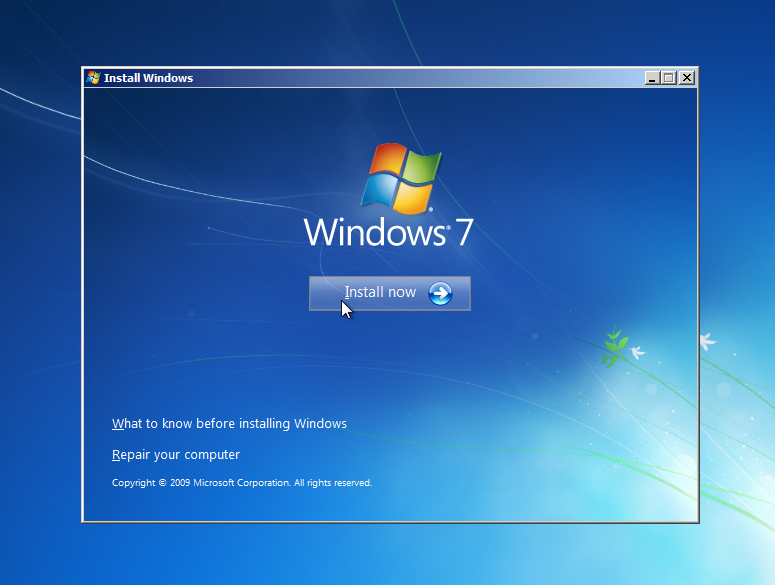
11.) Reboot your PC and immediately tap any key on your keyboard once prompted to boot from the USB drive. If it successfully boots to the USB drive, this is the first screen that you will see.
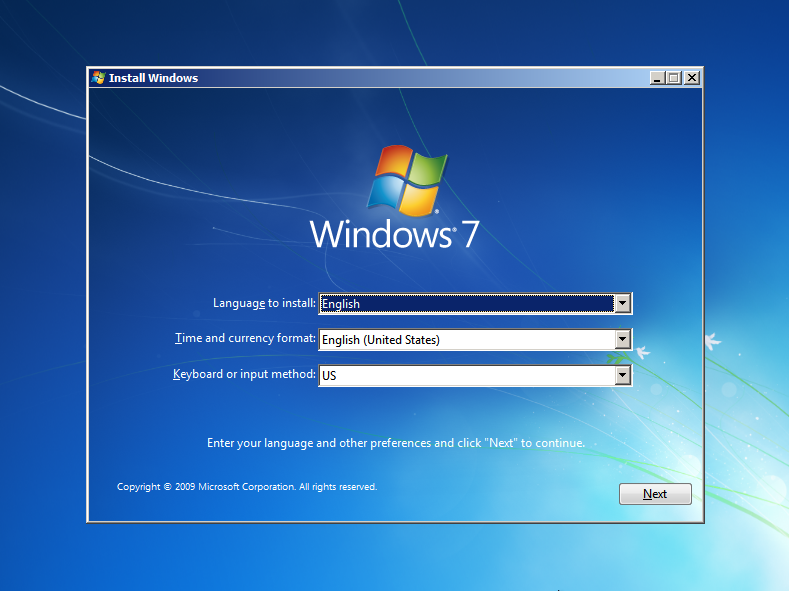
12.) Click “Next” unless you want to change some regional settings for the installation process. Then click on the “Install now” button.
13.) Next, accept the license terms and click on “Next”.
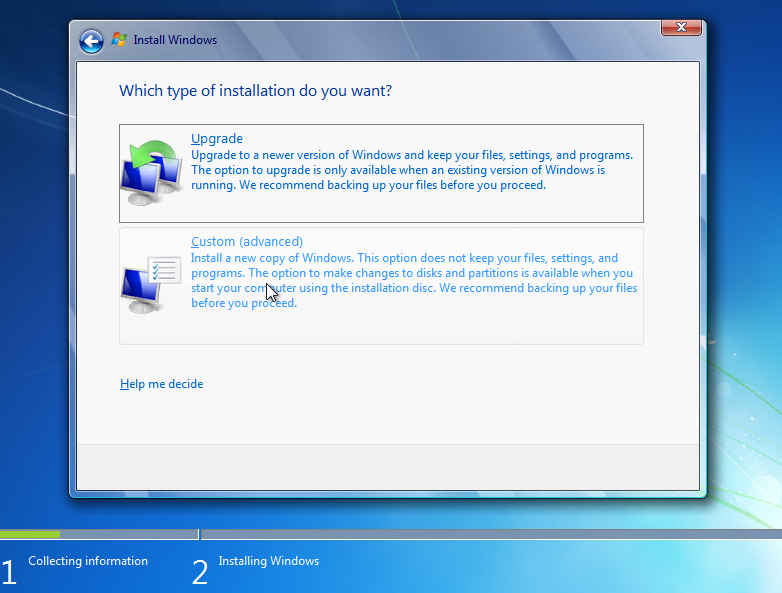
14.) Next, click on Custom (advanced) since we are installing this Windows as a fresh new install and not an upgrade.
15.) Decide on which hard drive and partition you want to install Windows on. A hard drive is a physical part of your computer that stores data, and partitions "divide" hard drives into separate parts.
Note: If you backed up your data on a partition drive, please make sure you DO NOT DELETE/FORMAT that partitioned the drive.
If the system drive has data on it, delete the data off of it, or format it.
- Select the hard drive from the list of hard drives.
- Click Drive options (advanced).
- Click Format from Drive options.
If your computer doesn't have any partitions yet, create one to install Windows on it.
- Select the hard drive from the list of hard drives.
- Click Drive options (advanced).
- Click Format from Drive options.
- Select the size, and click OK.

16.) Once done, click on "Next". The setup process will now begin to copy files from the installation DVD media to the hard disk.

17.) The process could take a while depending on the type of hardware your computer uses. The computer will reboot, and the next thing you’ll see is the prompt to set the user’s and computer’s name. By default, the computer’s name will be username-PC, where username is the username you’ve entered.
Note: The user you’re creating will be the only user currently available on the system. Like Vista, the built-in Administrator’s account is disabled.
Now, click on "Next".

19.) Enter the user’s password or you just leave it blank for now.
Note: If you create a password. remember this password, as it will be the ONLY user on the system, and unless you create an additional user or enable the built-in administrator account, if you forget this password you’ll need to crack it to gain access to the system. The best option would be to choose a complex password made of at least 7 characters or more (something like Pssw0rd or MYpa$$w0rd). You must also enter a password hint.
20.) Proceed with the remaining fields and you will be all set. Reinstall all hardware drivers as specified by your PC's manufacturer to achieve optimum performance.
Comments
0 comments
Please sign in to leave a comment.