Things you will need:
- Your bootable ISO of choice.
Windows 8.1 Download:
- Latest version of Rufus (Rufus app)
- A spare USB stick (The size of the USB required will vary depending on the size of the ISO you are using. I recommend an 8GB USB)
1.) After downloading the Windows 8.1 ISO file, please create a bootable media.
- Open up Rufus. Don’t worry about any of the settings here as Rufus will automatically do this for you depending on the type of ISO you are using.
- Once you connect the USB, these fields will be automatically filled for you.
- Now we need to select our ISO. (in my case the Windows 7 ISO) Select the icon highlighted as shown below, which will let you browse for the required ISO file.
- Select the file by left clicking on it once and then clicking on Open.
- Rufus will now have filled out the fields for you. All you have to do now is hit Start.
Note: if you are using a USB stick that is too small, like using a 4GB USB for an ISO that is larger than 4GB you will get the following error:
- If your USB is the correct size then you will get a standard warning telling you that any data/partitions that was on the USB before starting the process will be permanently deleted.
- Click OK, to start. How long the process will take to complete will depend on the specs of your computer, the USB (read/write speeds) and the size of the ISO you are using..
Once done, continue with starting the installation for Windows 8.1
2.) Change your BIOS boot priority to (USB first) so that your computer will read the USB instead of your hard drive after restarting the machine. You can also check with your PC's manufacturer for guidance as these options vary from one manufacturer to another.
Please check this video for example on how to change boot priority
3.) Plug in the bootable USB or place your bootable DVD in the DVDROM tray and turn on the machine, once prompted to press any key to boot form the USB/DVD, press any key right away. This should be the screen right after:

4.) Please setup language along with other preferences and click [Next].

5.) Click [Install now] to start the process.

6.) Enter the product key to activate Windows 8.1 and click [Next]. If this window does not show up, don't worry, it will ask for it after the installation.

7.) Accept the license terms and click [Next].

8.) Choose the installation type [Custom: Install Windows only (advanced)].

9.) Make sure you have backed up all important data before deleting the partition to avoid any data loss. Delete all existing partitions by selecting one partition at a time and then click [Delete] link.

10.) Press [OK] when prompted by the message.

11.) All the space on the hard drive is now unallocated. Please create partitions by clicking [Drive options (advanced)].

12.) Click [New] and decide a proper partition size for the partition.

13.) Windows will create another partition to store system files in. Please press [OK]. Follow step 9 to create partitions for the rest of unallocated space if required.

14.) Select one partition and click [Format] link to perform partition format.
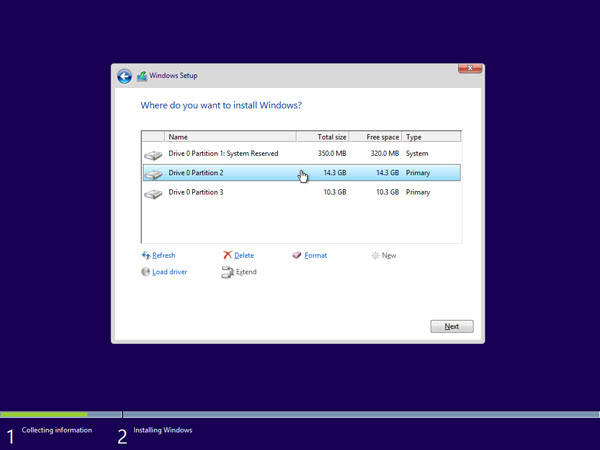
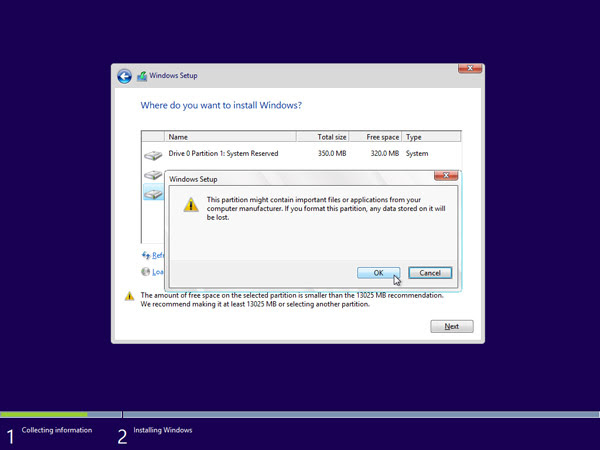
15.) You will be prompted to confirm the process. Press [OK]. Format other partitions as well except the one reserved for system files.
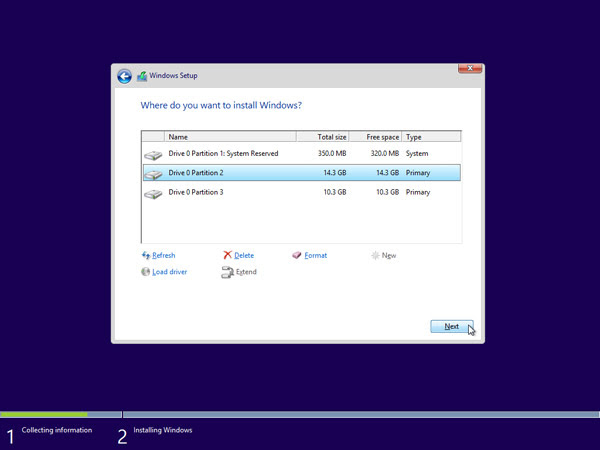
16). Select the partition where you want to install Windows to and press [Next].
17. ) Windows 8.1 is being installed and it will require several reboots during the process.

18.) Please follow onscreen instructions to personalize computer settings.
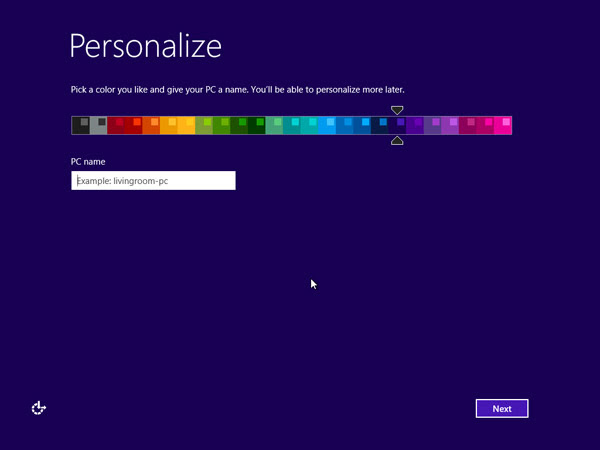
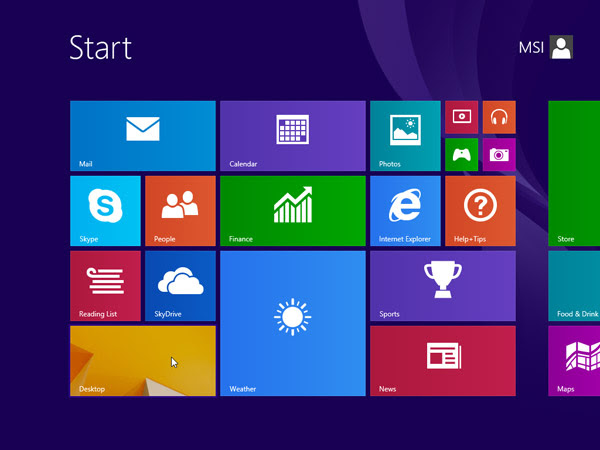
19.) Windows 8.1 is now installed successfully. Please perform Windows update and install the latest firmware/driver/app updates downloaded from your manufacturer's support website.


Comments
0 comments
Please sign in to leave a comment.