1.) You need to create USB Media.
Download Microsoft Windows 10 ISO if you haven't done it yet:
Click here - Windows 10 32-bit
Click here - Windows 10 64-bit
Creating bootable USB device using Rufus
- Latest version of Rufus ( Download: Rufus app )
- A spare USB stick (The size of the USB required will vary depending on the size of the ISO you are using. I recommend an 8GB USB)
- After downloading, launch the Rufus app.

- Click the optical drive button next to the Create a bootable disk using a checkbox, and you'll be prompted to search for the ISO image to use. Select the file by left clicking on it once and then clicking on Open.

-
Rufus will now have filled out the fields for you. All you have to do now is hit Start. If your USB is the correct size then you will get a standard warning telling you that any data/partitions that was on the USB before starting the process will be permanently deleted.
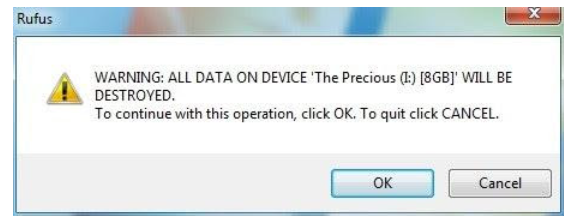
- Click OK, to start. How long the process will take to complete will depend on the specs of your computer, the USB (read/write speeds) and the size of the ISO you are using. Once complete, restart your PC to change the BIOS settings.
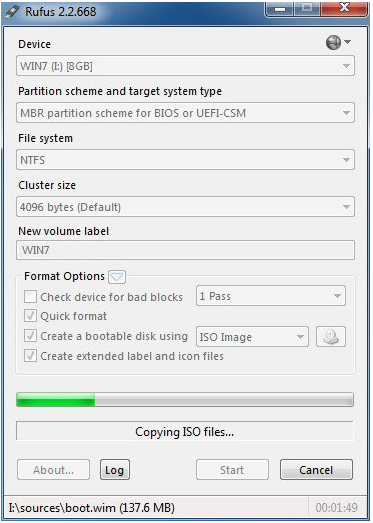
2.) Change your BIOS boot priority to (USB first) so that your computer will read the USB instead of your hard drive after restarting the machine. You can also check with your PC's manufacturer for guidance as these options vary from one manufacturer to another.
Please check this video for example on how to change boot priority
3.) Plug in the bootable USB and turn on the machine, once prompted to press any key to boot from the USB, press any key right away. This should be the screen right after:
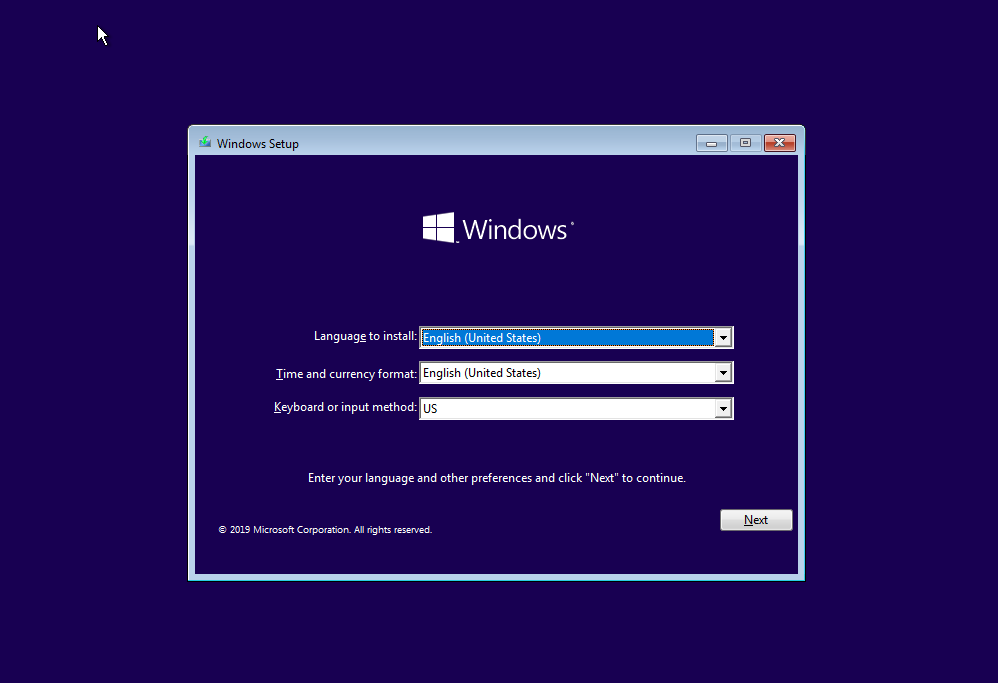
4.) Click Next and you’ll be taken to the next screen where you need to click on the INSTALL NOW button.
5.) Please enter your product key here and click on Next:
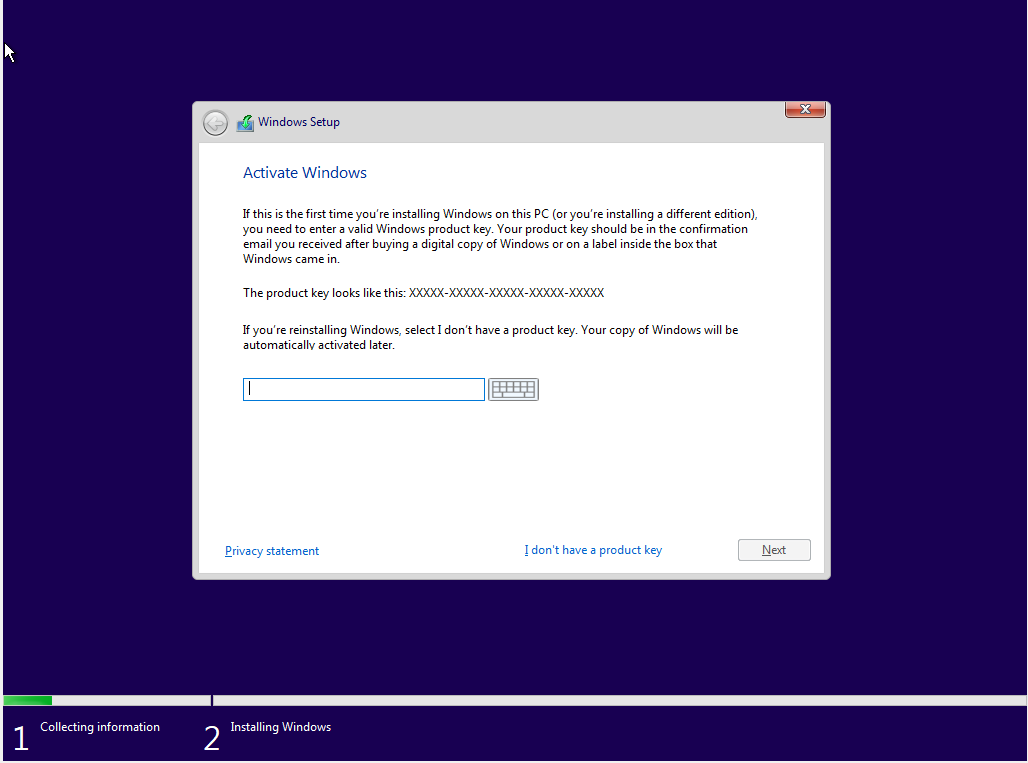
6.) Accept the license terms to proceed then click Next.
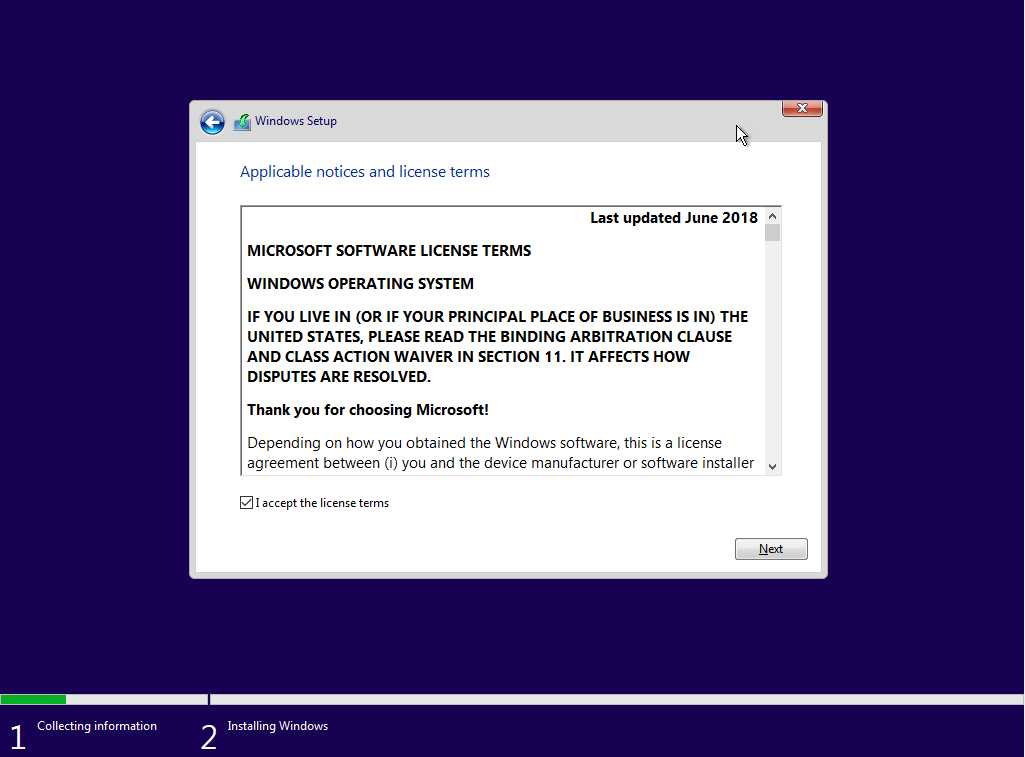
6.) Then choose CUSTOM INSTALL.
7.) At this point, you’ll need to pick where to install Windows 10. You might need to delete or create a partition, you can just click Next.
8.) And now it will install.
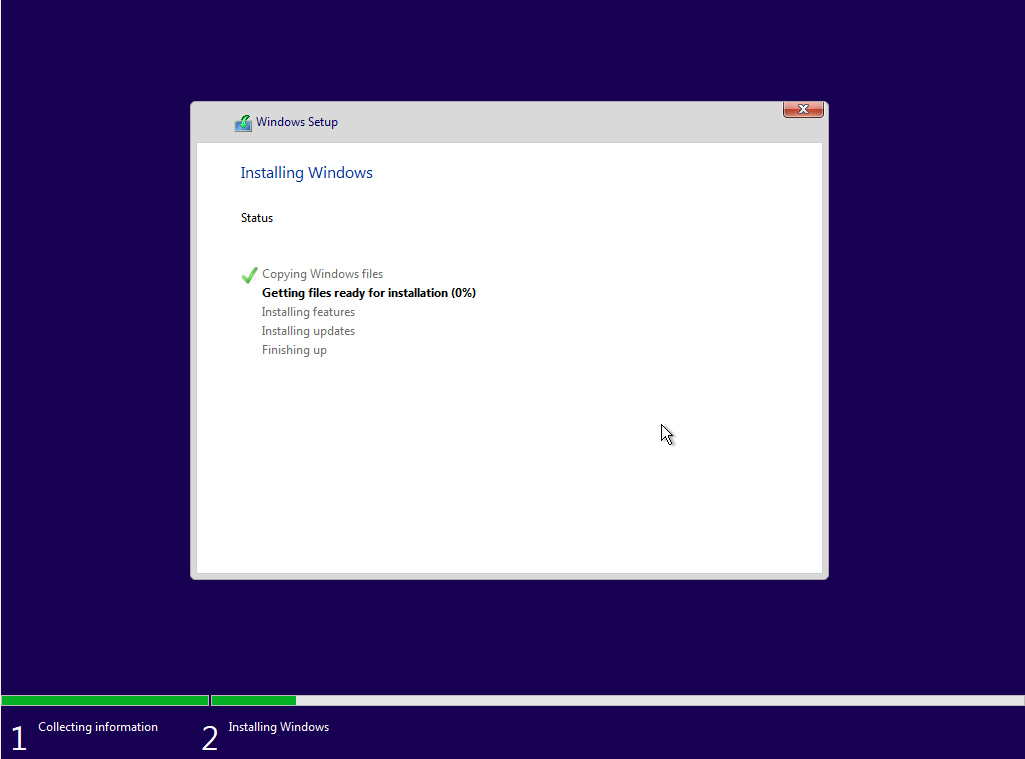
9.) After the PC reboots, remove the bootable device so it will not boot from there. Instead, it will boot from the hard drive and continue the installation and setup process.
10.) After the computer restarts, you’ll be asked to choose your region and keyboard layout. Choose what you prefer:
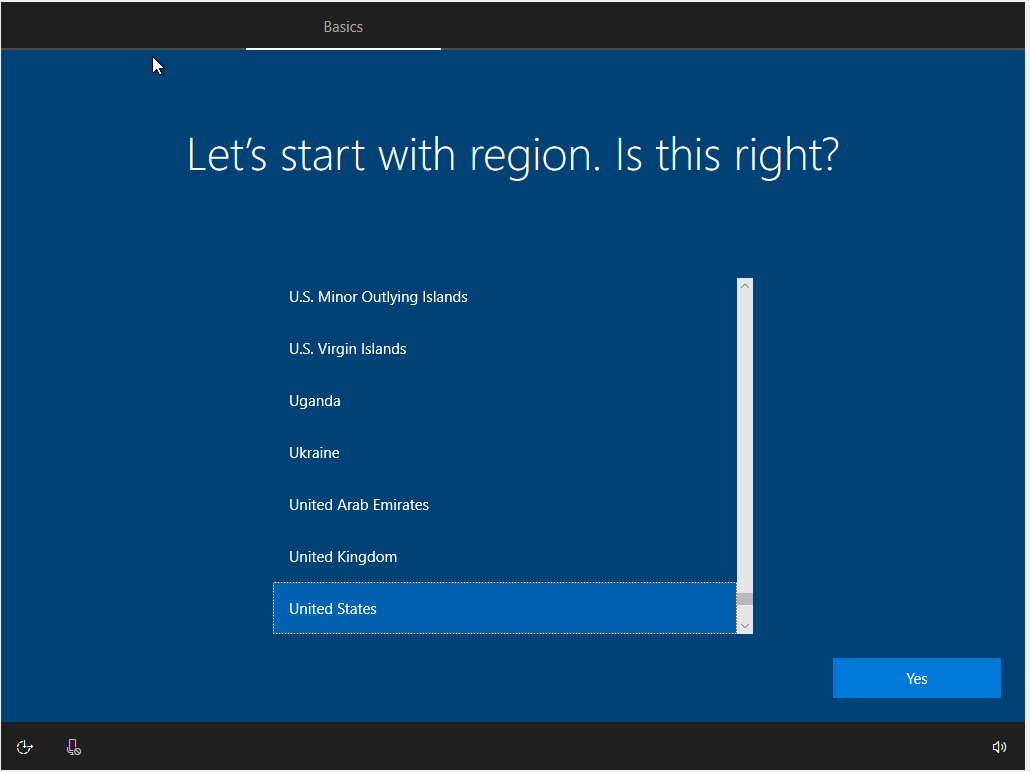
11.) And now you can sign in to your Microsoft account. We recommend using a Microsoft account because otherwise, you won’t be able to use half of the new features like online password recovery and access to one drive.
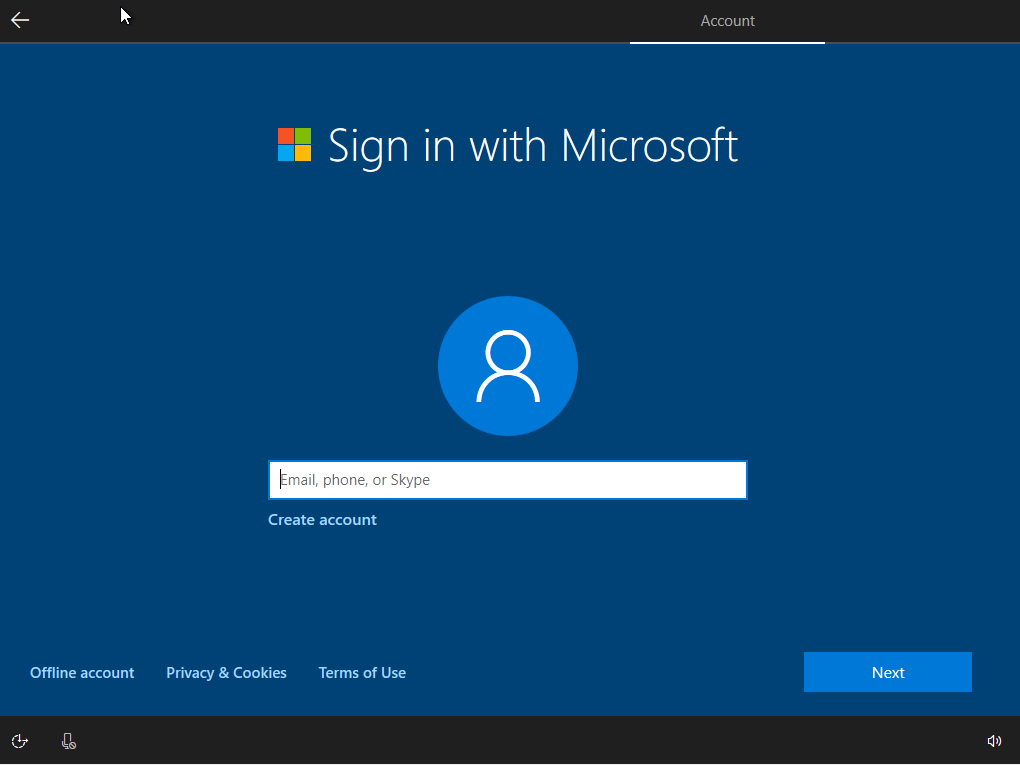
If you want to use a Local Account, Click on Offline Account then Limited experience on the next screen and fill out screens for your user name and password for your local user account clicking Next on every window.
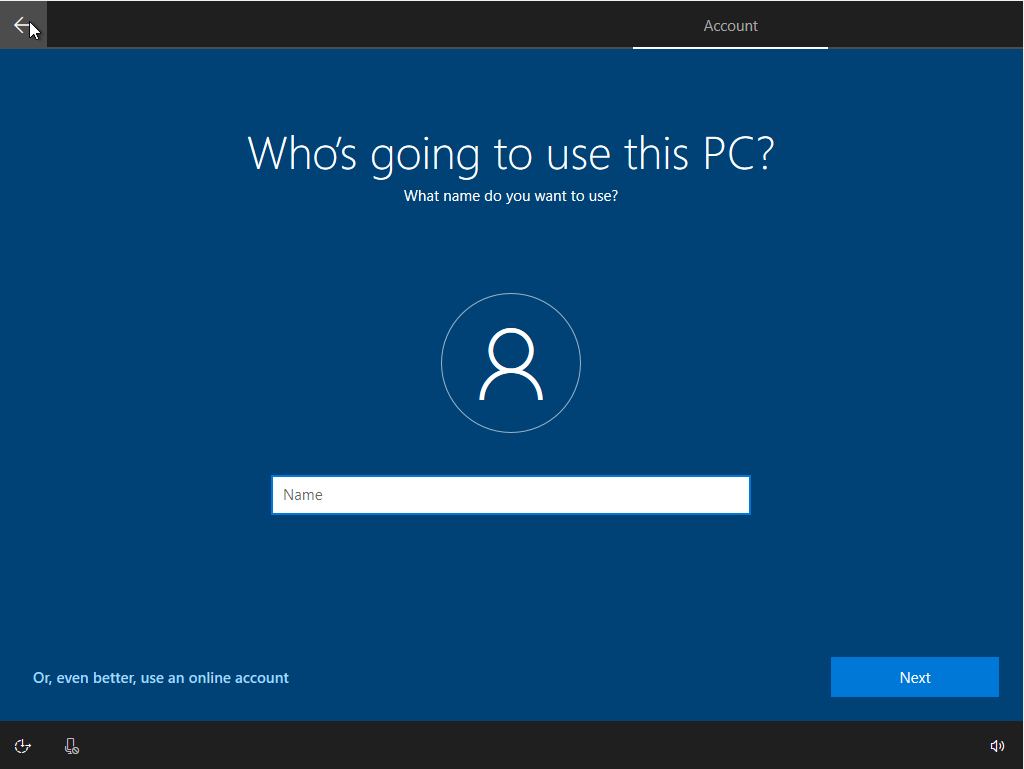
12.) If you’ve set up your account properly you’ll probably be asked to verify it in the middle. We excluded those steps from this article, but they are pretty simple. Some of the steps will ask you if you want to use Microsoft's voice-activated assistant Cortana.
13.) And finally, we are on the desktop!
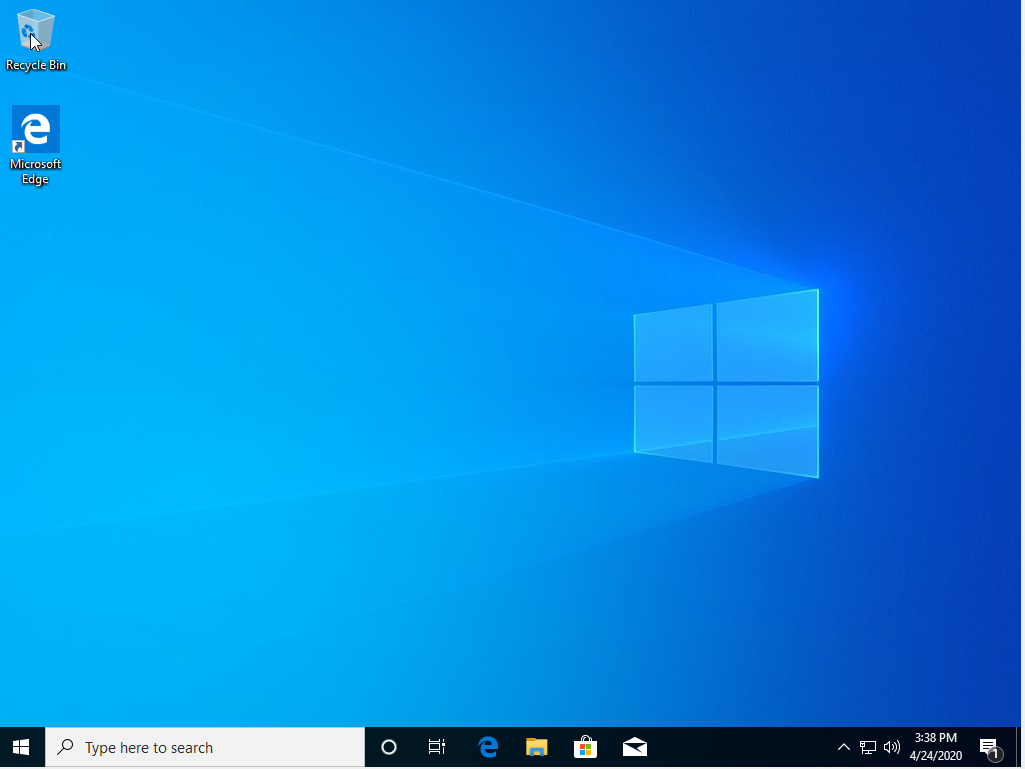
Congratulations!
Comments
0 comments
Please sign in to leave a comment.